
You must have read my blog on beginner’s guide to connect D365 from power automate. And, if you are interested in connecting Business central with power automate, you are at the right place. I will show you the basics and steps to connect business central, how to send emails and limitations of power automate with Business central
A small recap of how to create a flow -
First, we will need to create the flow from within a solution. Creating a solution is most preferred way to do it. If you are not familiar with this process, it's pretty easy.
- Navigate to https://flow.microsoft.com
- Log in with your credentials
- Click "Solutions" on the left
- Click "New" at the top, give the solution a name and Publisher, and then save it. This will show the solution in the solution list.
- Click on the new solution name to open it.
Steps to create a Business Central flow
- Click on New and you would find three options to create a cloud flow – automated, instant, and scheduled. We would be choosing automated flow. If you would like to run flow at a scheduled time, you may choose Scheduled flow.

There are three options to create a flow –
- Start from blank
- Start from template
- Start from a connector – You can view more details on it on my blog “Creating Business central custom connectors”
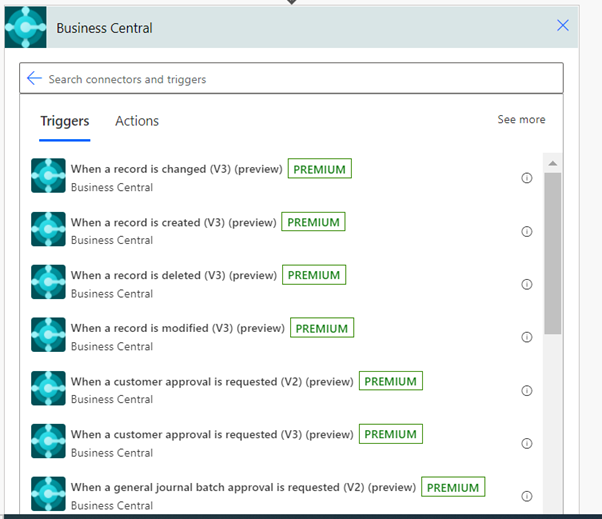
- We will use Business Central as a trigger to connect Dynamics 365. All business central triggers will have the highlighted icon.
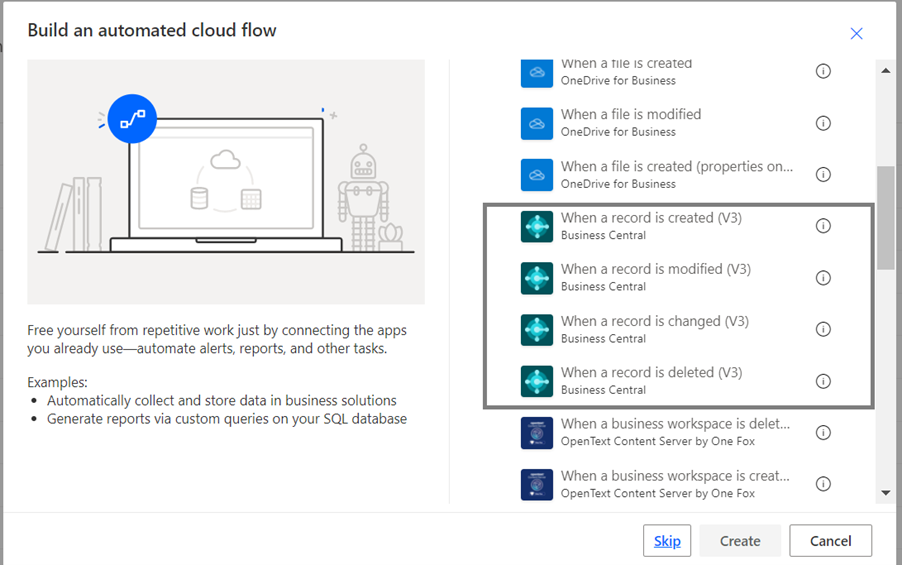
Add a friendly flow name and click on create, or you can also choose to skip and create trigger by using actions.
- As an example, I will show you how to send an email when an opportunity is created from business central
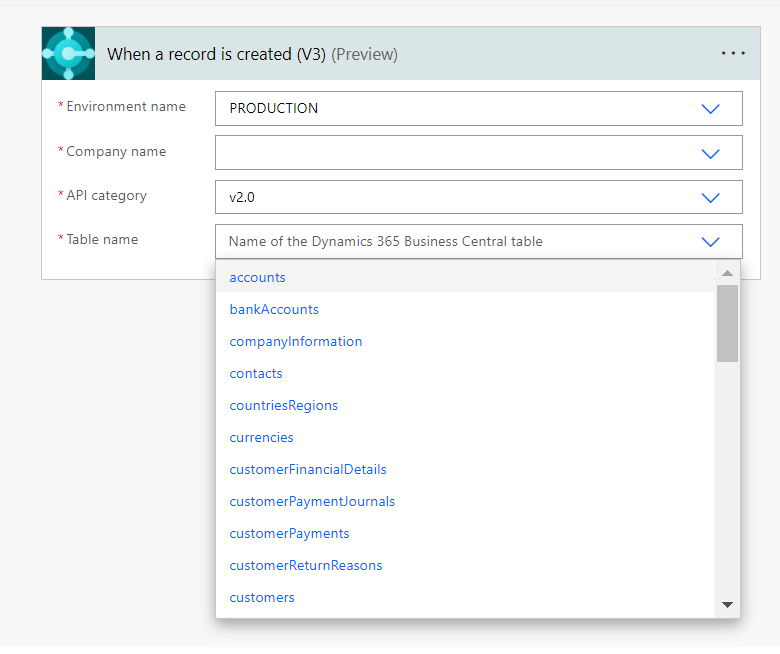
Choose environment like sandbox or production.
Choose company name on which you want to have this flow. You can find the company name by logging in BC (you will find the company name exactly under Business central navigation).
Business central acts a bit differently than D365; all the records are bifurcated based on the company names.
Choose API category, I will choose v2.0 but we do have an option to also select custom API exposed.
- Select table name on which you want to fire this flow.
Limitation:Business central is very much limited in exposing all the tables. Only the basic ones are exposed in API, but if you want to create an alert for a table that’s not available in the list you can either create a custom connector, custom trigger or use HTTP request to access that table.
- Trigger for modification on a record has a limitation – it does not allow us to identify which field has been changed. This is different from D365 triggers; under D365 when you click on Advanced option, we have an option to fire this flow when a particular field has been changed. But in this case, this flow will trigger whenever any change has been done to BC record.
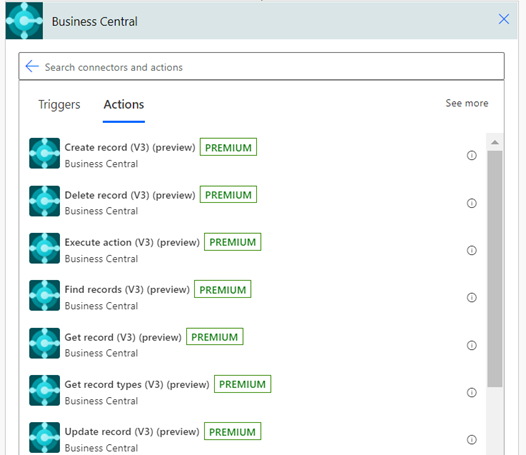
- If you want to fetch a particular some rows from BC, Get Record would be the best pick. You can specify which table to fetch it from and Row ID would be the unique identifier (GUID). Example: to fetch name of the user and his email, you can add “system created by” (@{triggerOutputs()?['body SystemCreatedBy’]}) from the record that was created or updated.
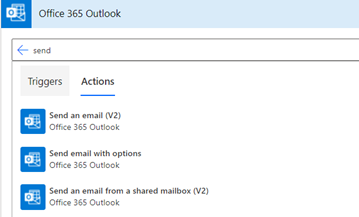
- Now that we have all the information we need, we can click on send email. Below are the different options we have to send an email –
There you are – your first flow of business central is ready to go.