
In the process of adding a page to a Modern SharePoint site, you will use customized web parts to build out blocks within the page. Today we’re going to talk about the Planner web part.
Before we get started, it is important to note that some organizations have decided to go with a Targeted Release, which might mean that this feature is not yet visible on your system or it may look a little different than what you’ll find in the most helpful articles.

Microsoft Planner for Office 365
Microsoft Planner allows Office 365 users to create boards where you can post and share projects and tasks for each team. Each task can be sorted into “buckets”, which are essentially columns on the page.
These buckets can represent phases of the project, days of the week, or whatever you like. They are easy to organize with drag-and-drop functionality, so you can prioritize, highlight, or shuffle things about to suit your needs.
The Planner boards facilitate team communication as well as they clearly show where each individual is at with regard to task status. You can also toggle to a chart view to see everybody’s overall progress.
For more information and help with assigning tasks, status updates, creating and labeling plans and tasks, building teams, or using Microsoft Planner on your mobile device, visit the Microsoft Office Support page.
Adding the Planner web part
The biggest advantage of the Planner web part is that you can deploy your plan directly onto your SharePoint page.
Here’s how to do it:
- Navigate to the SharePoint site page you are working on
- Enable edit mode by clicking EDIT at the top right of the page
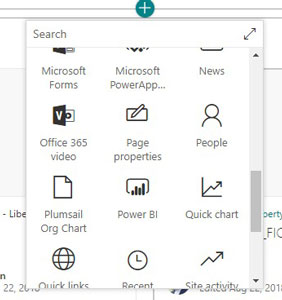
- Hover your mouse over an already existing web part and click the green + button.
- Select the Planner web part
- If you then need to create a new plan, enter the name for the new plan under Plan, then click Create.
If you want to display an existing plan in the Planner, select the one you want to use by clicking on Select an existing plan. You can then choose whether to show your plan in Boards or track your progress visually using Charts.
Hopefully, this gives you some insight into the SharePoint Planner web part. As always, if you would like to learn more, reach out today.